Dynamic content based on logged in user

There are scenarios, where you want to display customized content for your customer or you have created an awesome internal website that you want to share inside DeskDirector portal, but you only want users who have logged to have access to it and not publicly open to the internet.
In this article I will introduce a way to achieve them.
The features I will use to achieve them are:
- Dynamic Menu
- Access Token
- iFrame Sandbox
- DeskDirector API
Dynamic menu is the core feature that we will use. For more information you can read on following articles.
Stage One: Create Menu Item
Head to admin portal of your DeskDirector server. Navigate to Portal > Menu Items > Create new.
We will use extension menu item for this case. You should enter following fields.
- Name
- Icon
- Website URL
- Select Access Token inside Query parameters
As for sandbox, I will explain that later.

Stage Two: Add Menu Item to Menu group
Navigate to Portal > Menus > Default. Add the menu item you have just created into this collection.
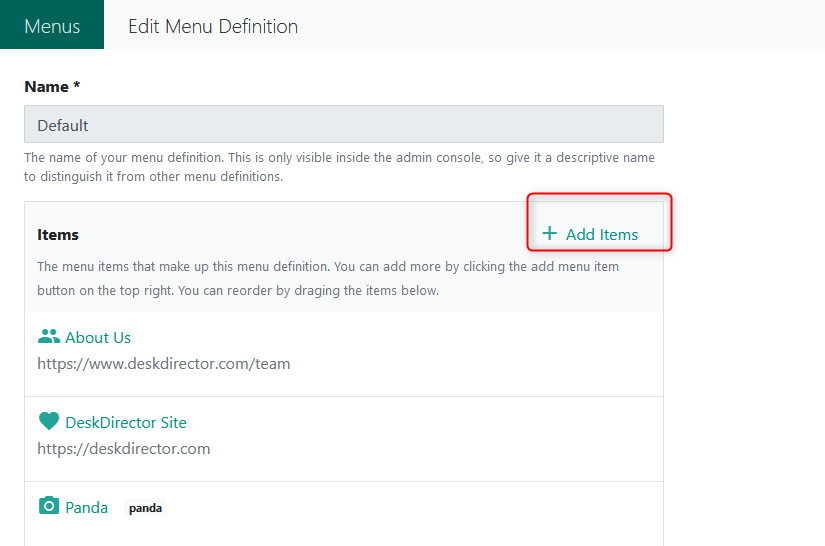
By this stage, you should be able to access this menu in your portal, unless the user you use to test have company level override.
Stage Three: Secure the content
There are two way of securing the content - front-end and back-end. The key to achieve the security is to use access token. When portal accesses an external website, it will pass an access token, since you have set it up inside stage one.
Access token can be extracted from the URL. You can then use it to query DeskDirector server.
HTTP GET: https://{sub-domain}.deskdirector.com/api/v2/user/client
Headers:
Accept: application/json
Authorization: DdAccessToken {access token}
// article on https://javascript.info/fetch
const accessToken = 'get access token from query params';
const request = fetch('https://{sub-domain}.deskdirector.com/api/v2/user/client', {
method: 'GET',
headers: {
Authentication: `DdAccessToken ${accessToken}`,
Accept: 'application/json'
}
});
const response = await request;
const result = await response.json();
console.log(result);
The response of the query above should give you the information regarding the logged in user. It should be in JSON format and looks like following.
{
    "userName": "test@email.com",
    "entityId": 188
}- User Name: Email of current logged in user.
- Entity ID: ID of logged in user. It is contact ID for both ConnectWise or Autotask.
You are not restricted with the above API. Pretty much 99% of portal API is allowed to be used with Access Token. To find out more you can browse them under https://{sub-domain}.deskdirector.com/swagger.
With code I have showcased above, you can also use back-end to verify the user. If your website is based on MVC (Model View Controller), then you can verify the user before web page has been returned. If user is unauthorized or incorrect, you can redirect them to different page.
More about API you can read DeskDirector API
Stage Four: Customize your content
Depends on which technology you will use. You can customize your content based on logged in user. Either at front-end or back-end.
The back-end approach will rely on MVC (Model View Controller). Where front-end can be SPA (Single Page application).
Similar as authorization, all of them are utilized on Access Token.
Additional: Access Token Life Cycle
Access token has limited life span. It only available for one hour. For back-end approach, you can authorize user everytime they access on the end point.
For front-end, we will introduce capability for iFramed page to talk to its parent. So, they can ask for more access-token when it is closed to expire.
Additional: iFrame Sandbox
You can read more about sandbox here. Basically, system exposes all the relevant options for iFrame sandbox. If the website is constructed by yourself, feel free to disable sandbox. Else please choose proper security with sandbox.
How the sandbox has been configured is your responsibility. If any information leaks because of incorrect sandbox configuration, then it's your responsibility to take the blame.
It is also true for access token. You can choose to pass access token to the external site, if they use it to retrieve sensitive information about logged in user, then it is also your responsibility on what has happened.